
Why is This Even a Thing?
I am at a point in my research/training where I am needing to start getting very comfortable with WinDbg, and since on my home machine I currently am running Ubuntu Linux as my daily driver this is how I got it all working …
Up until this point in all of my research and training I have been dealing with debugging/exploiting applications using things like OllyDbg or ImmunityDebugger. In order to go deeper into the exploitation world it is important to understand how to interact with kernel level debuggers, which is exactly what WinDbg is. Unfortunately it is only a Windows tool and can not be run natively on Linux, although with it being a kernel level debugger that is really not all that surprising. Fortunately we live in a world with VM technology, like VMWare Workstation, which will allow us to perform that kernel level debugging from one VM to another!
Our Goal
The typical workflow of a windows kernel level debugger is to configure one windows machine (the debuggee) to connect to another windows machine running WinDbg (the debugger). Once that connection is established than the debugger (running WinDbg) can break/stop execution on the debuggee at anytime. Once the debuggee has been halted it is then possible to inspect memory, set breakpoints and generally do anything at the kernel level that you would have been able to do in Olly/Immunity/etc but on the entire operating system.
Our Tools
- Ubuntu 18.10
- VMWare Workstation 14
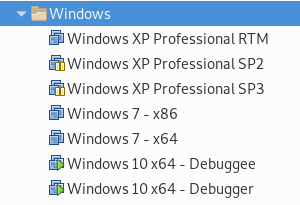
- 2x Windows 10 VMs
Step One: Install Windows 10 Twice
In order to setup the debugger and debuggee we will need two separate copies of Windows … so you need to install it first!
Step Two: Install WinDbg
Now that you have Windows 10 installed twice it’s time to figure out which machine will be the debuggee and the debugger. It doesn’t matter which is which, so pick one and rename accordingly.
Installing Windows 10 SDK
Now that you have designated one as the debugger it’s time to open it up and install the Windows 10 SDK on that machine. When the installer launches make sure to install to default locations and to select all the things!
Debugger Serial Port
Next up we need to configure a new serial connection on the VM. To be able to do this we will need to port down the VM first, so go ahead and issue a shutdown command.
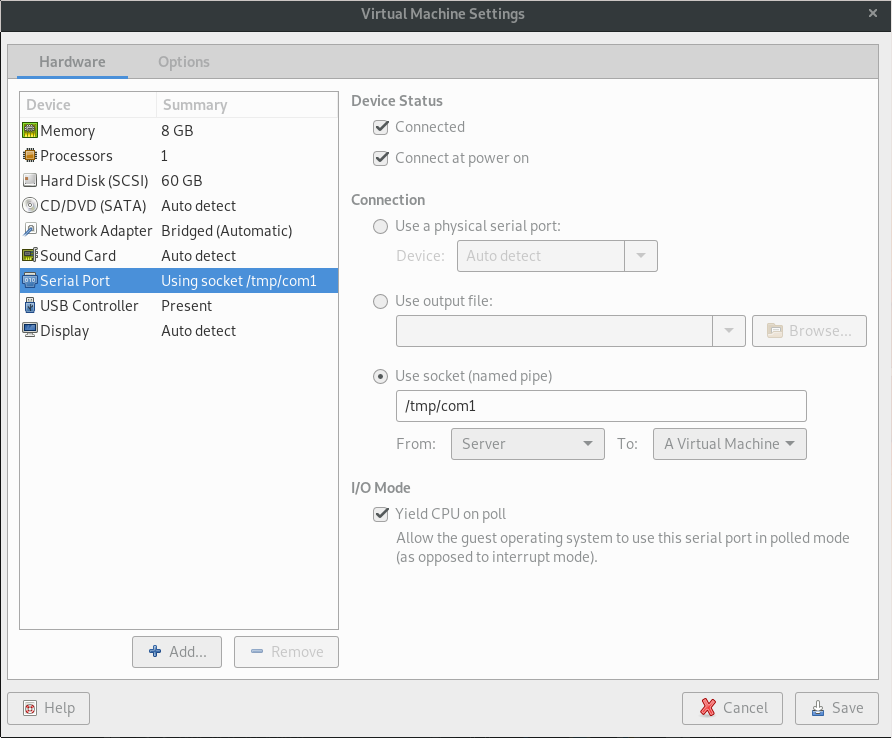
Now, before adding a new serial port let’s talk about the printer … In my case (and I would imagine yours too) I did not have any need for a printer. Since the printer is a COM port my recommendation is delete that device from the VM so that when we add a new serial port we will only end up with one COM port.
Ok, now that you have deleted you printer and selected to add a new Serial Port here is what the screen should look like before you save:

I want to make sure to call out that we have explicitly selected to use a socket/named pipe and that the name we have created for it is /tmp/com1. Also, we have selected Client and that the connection is to A Virtual Machine as well as not clicking the Yield CPU on poll
Debugger Symbols Path
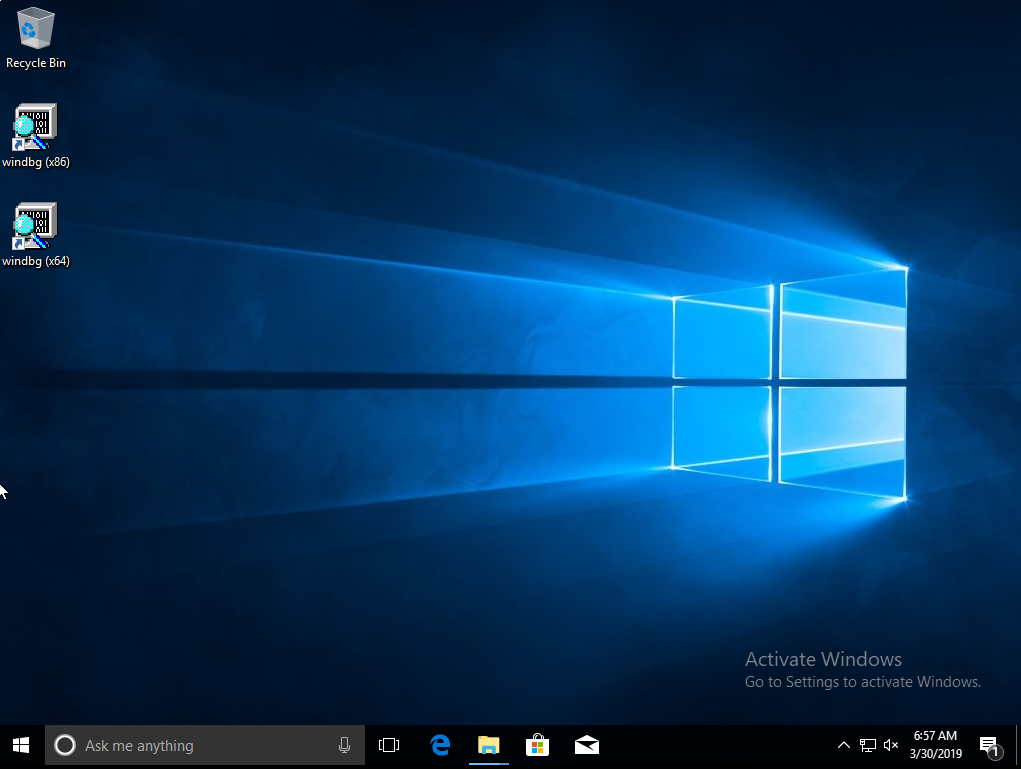
Another tip I gleaned from the sources that I used (at the bottom of the page) is that we can setup shortcuts to WinDbg on our desktop and add some commands to automatically pull down Windows Symbol files for us.
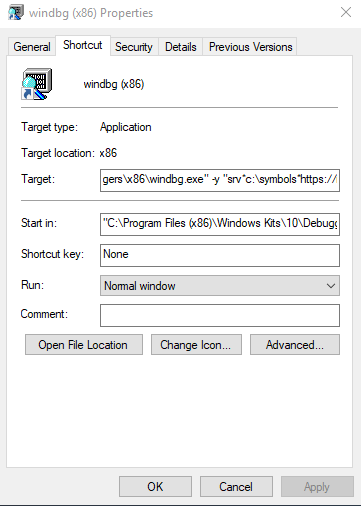
The WinDbg (x86) version is located at:
C:\Program Files(x86)\Windows Kits\10\Debuggers\x86\windbg.exe
The WinDbg (x64) version is located at:
C:\Program Files(x86)\Windows Kits\10\Debuggers\x64\windbg.exe
After creating two separate shortcuts on the desktop for them:
We can right click and edit properties on each one of them and add the following text to the end of the Target: textbox:
-y "srv*c:\symbols*https://msdl.microsoft.com/download/symbols"
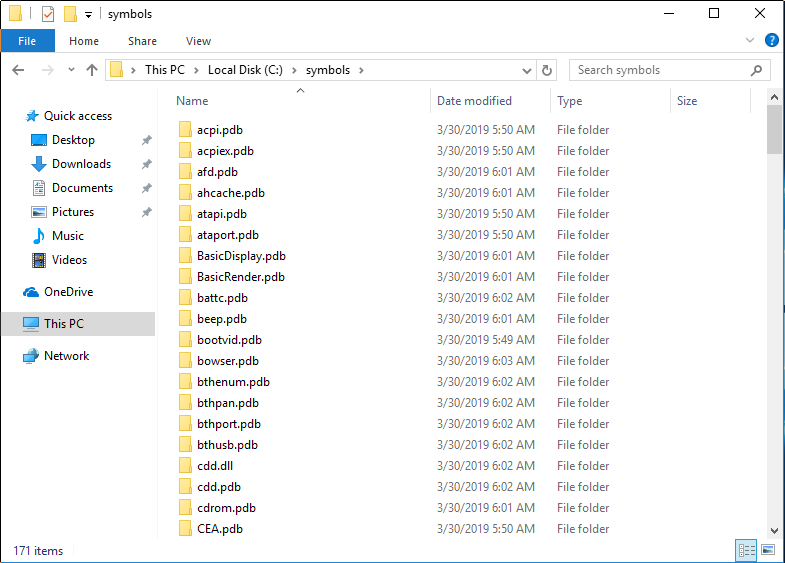
Which will end up automatically downloading the symbols from Microsoft and storing them in C:\symbols for us! Don’t worry … if the folder dosent exist it’ll be automatically created when the first symbol is downloaded.
An example of what that folder will looks like after we get into the actual debugging is:
Debuggee Serial Port
Just like then debugger we will need to power down the VM. Once that is done we should also delete the Printer so that when we add a new Serial Port it will be on COM1.
I again want to make sure to call out that we have explicitly selected to use a socket/named pipe and that the name we have created for it is /tmp/com1. Also, we have selected Server and that the connection is to A Virtual Machine as well as this time clicking the Yield CPU on poll
Debuggee Windows Settings
At this point we need to boot up the debuggee VM again. Once it is booted up we need to run a command prompt as local administer and run the following commands in that command prompt:
bcdedit /set debug on
bcdedit /set debugtype serial
bcdedit /set debugport 1
bcdedit /set baudrate 115200
At this point go ahead and shutdown the debuggee VM again.
Step Three: Connecting That Sweet Sweet Debugger
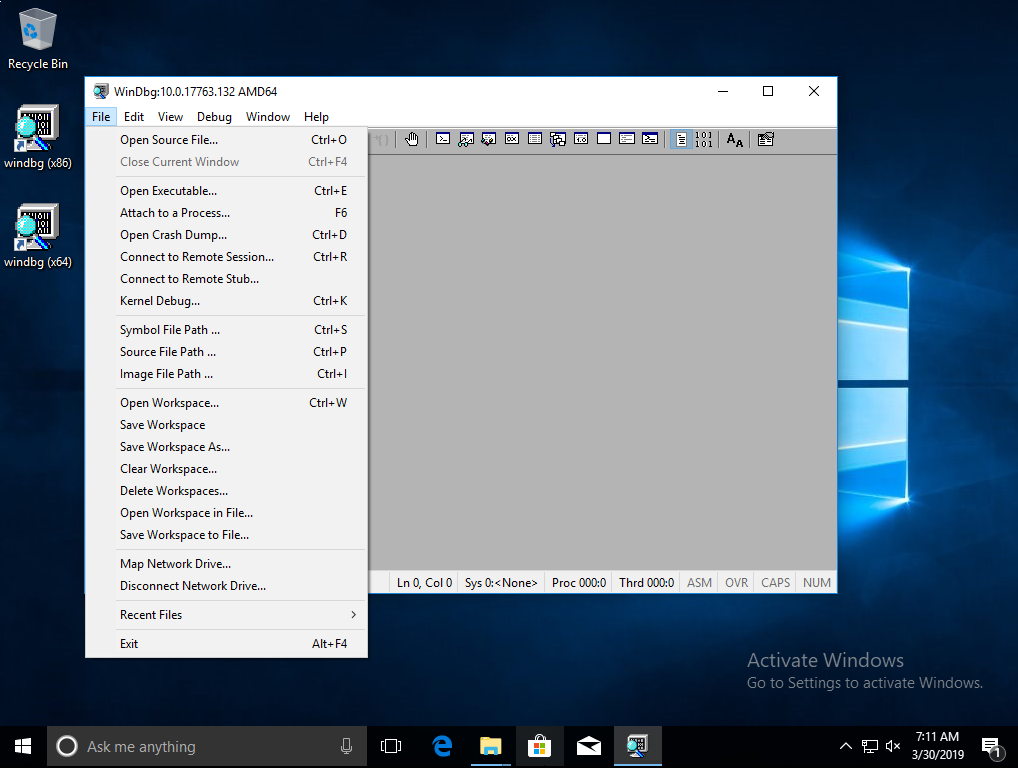
The first thing to do is to boot up the debugger VM, launch WinDbg and then select Kernel Debug…
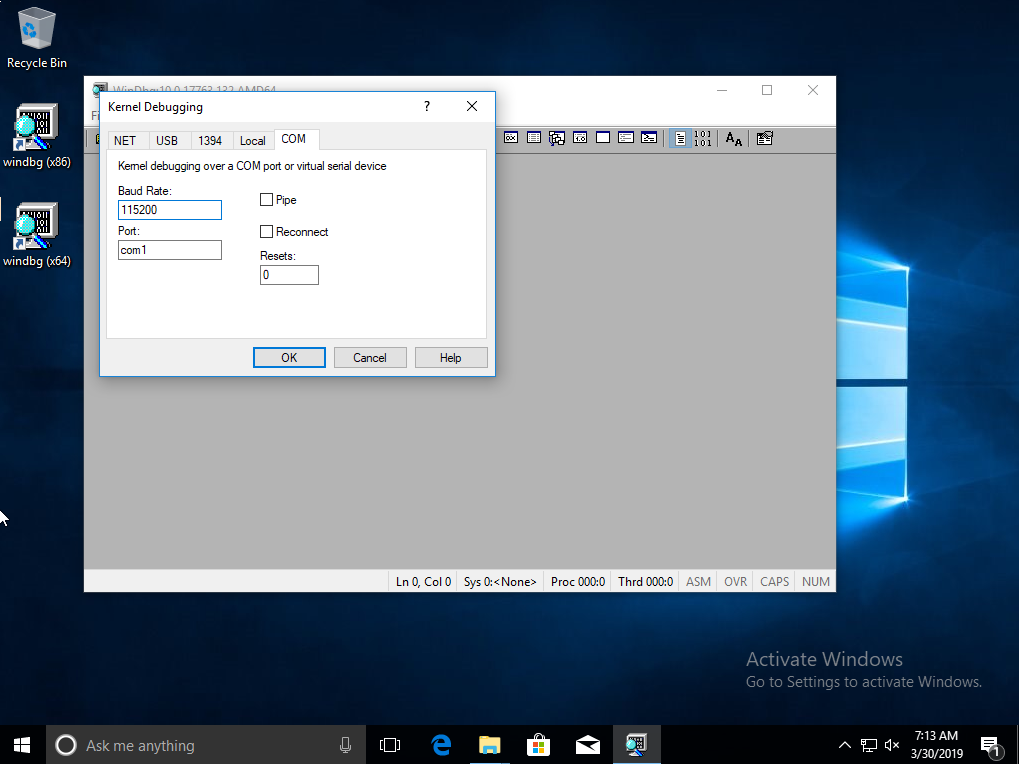
Next up we need to select the COM port and make sure the Baud Rate is set to 115200 and that the port is set to com1 (from the socket/named pipe)
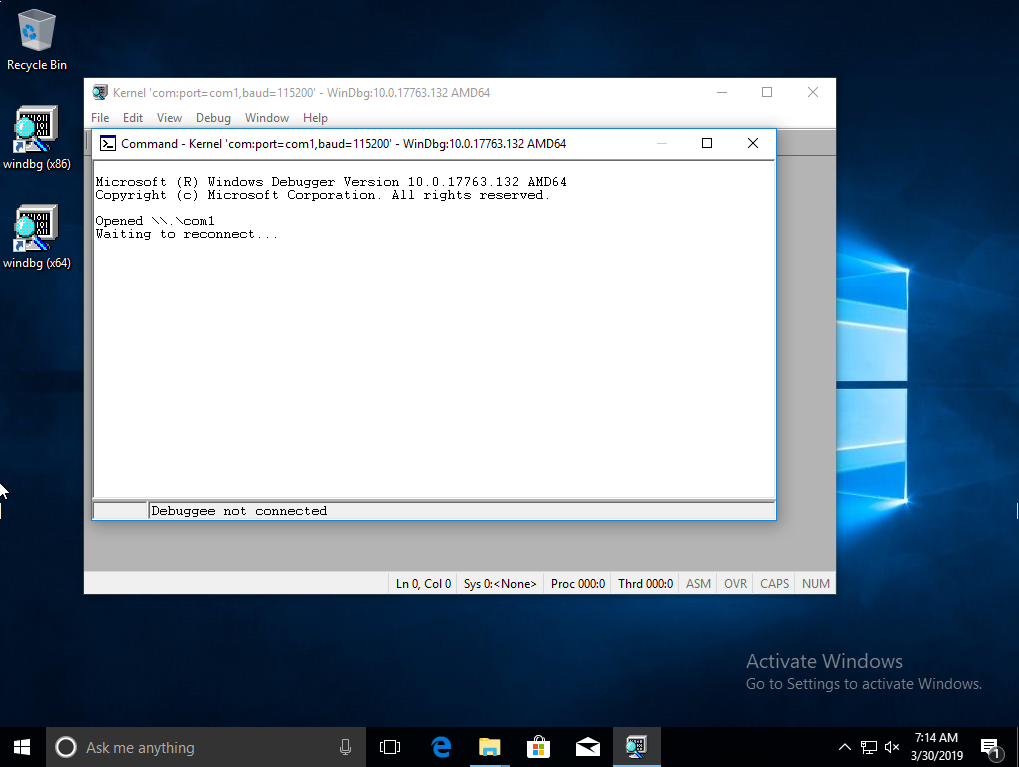
And now we simply hit Ok and we should be met with the following screen:
Awesome … now lets switch over and power on the debuggee! If all goes according to plan when the debuggee is just starting to boot we will get the following screen on the debugger.

Keep in mind that during this time that the debuggee will look like it’s completely locked up, just be patient and will eventually boot all the way up into windows and the debugger screen will look something like the following:

The astute reader maybe have noticed that I keep saying that we are connected while the status bar at the bottom says otherwise:

Well, that is because our socket is connected but we have not broken into the running OS yet. Just because I wouldn’t believe me either unless I saw it … lets go ahead and hit CTRL+BREAK on the keyboard (or select Debug –> Break from the menu) and see what we see …
Still don’t believe me? I wouldn’t believe me without some kind of proof either … trust but verify right?
Ok, go to your debuggee machine and take a look at the computer name (WIN+BREAK)
If nothing is happening make sure to enter g and hit enter on the debugger machine in WinDbg
So we have established the super awesome computer name on the debuggee is
DESKTOP-70PNMCH
Now let’s go back to the debugger machine, make sure to CTRL+BREAK and run the following command … be patient, cause it might take a while:
!process 0 0x31 wininit.exe
Ohhhhh snap, looks like we get back all of our environment variables and all kinds of neat stuff about the machine we are currently connected to (debuggee). And wouldn’t ya know it, the names match :)
Windows 7 / Windows XP
Windows 7
The same guide we followed for Windows 10 works perfectly for Windows 7
Windows XP
For Windows XP follow the same path for the Serial Port but instead of running bcdedit you would instead edit the C:\boot.ini and add the flags to the boot options like so:
[boot loader]
timeout=30
default=multi(0)disk(0)rdisk(0)partition(1)\WINDOWS
[operating systems]
multi(0)disk(0)rdisk(0)partition(1)\WINDOWS="Microsoft Windows XP Professional" /noexecute=optin /fastdetect /debug /debugport=COM1: /baudrate=115200
Or by using msconfig and setting the advanced boot options like so:
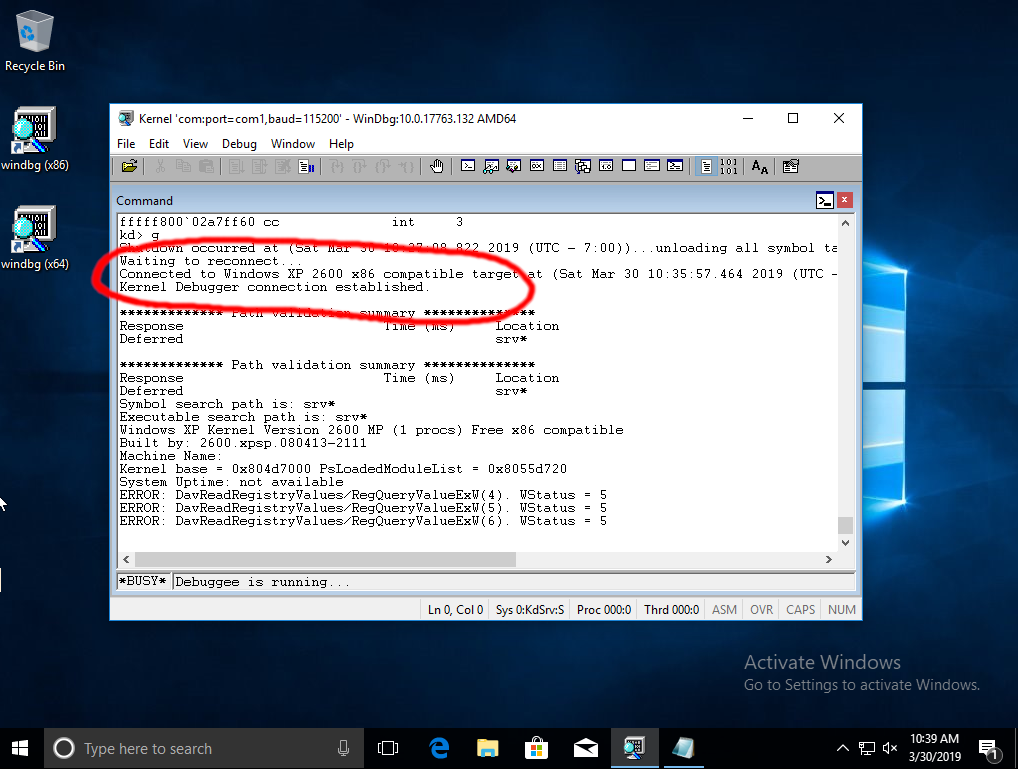
Don’t believe that WinDbg from Windows 10 just connected to Windows XP over a serial via a serial Port?
Sources Used
